
Last year, I checked out Munzee for the first time. There were very few Munzee locations near Abbotsford, BC, so I didn’t pay any attention for several months. I heard on the Caching in the North West podcast that two local Geocachers, LANMonkey and WetCoaster, were active Munzee players in my neighbourhood, so-to-speak. So I finally decided to check Munzee out again in January 2015. There are a lot more markers on the map now!
My next step was to figure out how to play the game without spending a lot of money. WetCoaster was kind enough to give me some stickers to get started with. While reading the Munzee forums, and other websites, I discovered a way to make my own laminated Munzees on the cheap. Time will tell if they hold up to the wet coast rainy season.

Prerequisites to making your own Munzees:
- Create a number of new Munzees. I started with 24. They’ll be on your Undeployed page in your Munzee profile. Name them whatever you want since you can change it when you actually deploy one.
- Learn where to find the Print tab on each Munzee page – you’re going to need the URL from each Munzee to complete this tutorial.
- Advanced technique: learn how to add a browser extension to grab all your Munzee URLs at the same time (I may make a future blog post on that subject).
- Access to a laser printer. Color laser printing is a bonus. You can have printing done at your local office supply store if you know how to save a print job to a PDF file.
- Cold Laminating pouches – I got 3 8.5″ x 11″for $2.50 at my local dollar store. Alternately, a hot laminator and hot laminating pouches will last longer in the wild.
Here’s how I made my laminated Munzees:
Munzee Skin Machine seems to be the best place to go for creating your own homemade Munzees.
- Go to the Munzee Skin Machine and start by clicking the Create a Skin button. Then click the Easy button.
- Choose All Skins from the category selector and click Next. There are over 200 designs to choose from.
- For my first batch, I chose Default Green (click the circle below the name of the skin). Then scroll to the bottom of the page, and click Next.
- On the next page, you will see a large white box. You need to paste in all the Munzee codes you want to print. Back on your Undeployed page the Munzee website, you will need to copy the “Barcode Value” from the Print tab for each Munzee. Paste each Munzee URL into the box on the Munzee Skin Machine website, one per line. Once you have them all, we will proceed with the next step.
- Oh, are you back? Good. The next few options I set like this:
- Supress Munzee numbers – depends on whether or not you want the tiny little number below your QR code. If you are obsessive over details, you might want to deploy your Munzees in order.
- Create front side only – Leave this unchecked unless you want to print single sided Munzees.
- Fill in your Munzee username in the Deployed by box if you want your username on your Munzee.
- Change QR Code Color – I would avoid doing so as the high contrast of black on white makes the codes easier to scan. Adjust this at your own risk.
- Once you’ve entered all your codes, and set all the options. It’s time to generate some Munzees. Click Next. Then click Next again. Then, wait for the hamsters to complete your job.
- When they’re done (hopefully you didn’t wear out the hamsters!!), click the Print button. A new tab will open in your web browser showing your Munzees, and after a few seconds, the print dialog box shows up. Cancel the print dialog for the moment.
- Next, you have to decide how big you want your Munzees. If you chose the Default Green in step 4 above, then you will want to set the Munzee Width to be 2″ wide. You can go a bit smaller, but if you go too small, they may be difficult to scan. Set the Munzee Padding to 1px (pixel). Click Reprint. The page will reload, and the print dialog will pop up after a few seconds again.
- Now, print your Munzees on your printer. Or, if your computer is setup to do so, you can save the output to a PDF. You can take a PDF to your local office supplies store for printing if you don’t have a laser printer.
- Once you get your printed Munzees from the printer or the office supply store, you will need to slice it up. Use an X-Acto knife & ruler, or scissors, or a paper cutter – whatever you have. Straighter lines look neater! The 1 pixel border you chose as few steps ago is just wide enough for any of these methods to leave minimal (if any) white space around your Munzees. If you’re using the knife and ruler, maker sure you have a suitable cutting board under your work area.
- Once they’re all cut up, you will need to fold them in half. I used a dab of glue from a glue stick to hold them closed. Ideally, you will then let the glue dry before continuing.
- Now you have a stack of folded Munzees, you will be laying them out on your cold laminating pouch. I left a 1/4″ margin around each munzee to make sure they stay as waterproof as possible. On the top side, I tripled that to 3/4″ so as to leave room for a hole to slip a zap strap through. I printed a page of 1/4″ Graph Paper to put underneath the laminating pouch (not in it!) to help keep things lined up neatly. I used a tiny dab from the glue stick to hold each Munzee in place on the laminating pouch since the slightest bump sent everything sliding around.
- Important Note: Do Not punch a hole through the munzee itself. This will allow water in, and your Munzee will have a very short life in the wild.
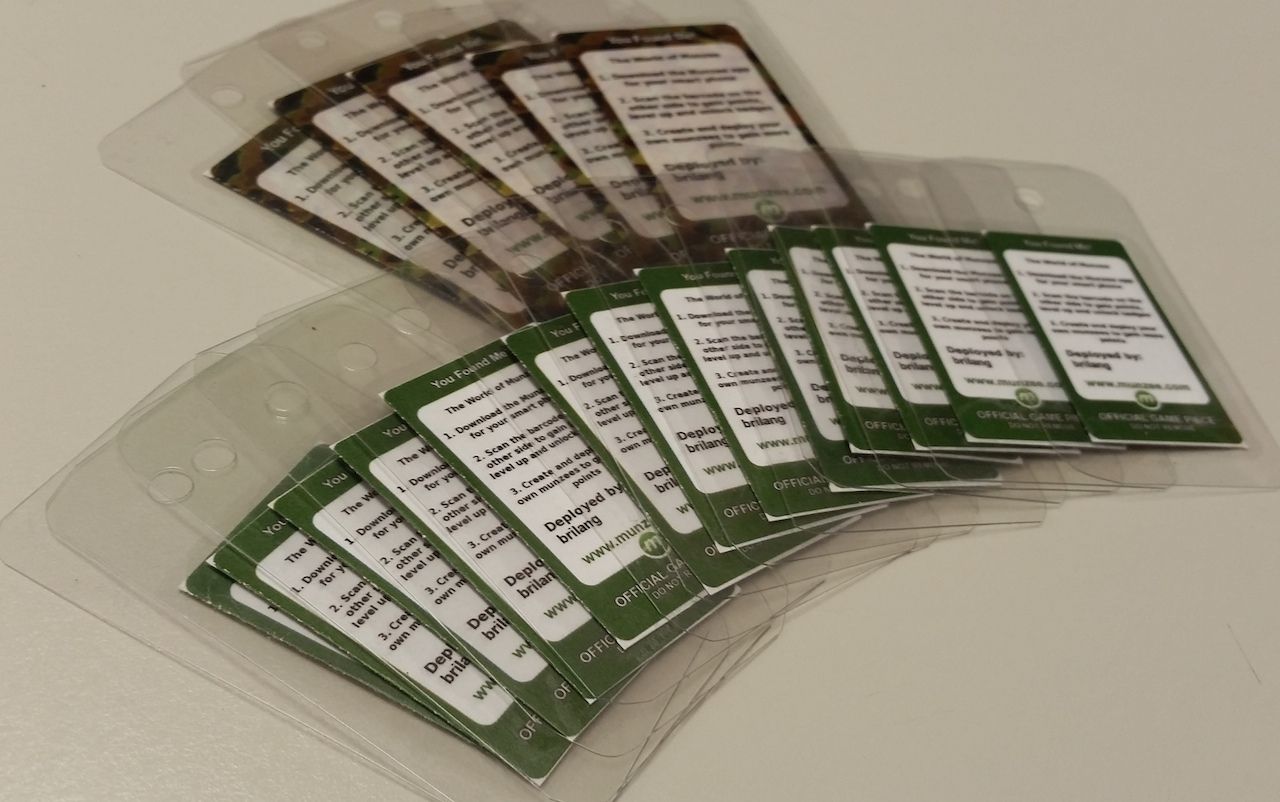
- Once I got as many in the pouch as I could, I removed the paper from the laminating pouch and slowly, carefully pushed the two sides together, working from the fold to the opposite side. It’s important to try to get rid of as many air pockets as possible while doing this. You probably only have one chance to do this as the laminating pouch is very sticky and very hard to “undo” this step – even though the packaging says it’s possible for up to 24 hours.
- The next step is to take your X-Acto knife & ruler, or scissors, or a paper cutter to the laminated Munzees and trim them up as neat as possible. Use scissors to round the corners so you don’t injure anyone who finds your Munzees. I left the 1/4″ graph paper under mine while trimming with the knife and ruler which made it very easy to get straight cuts.
- The last step was to take a hole punch, and put a hole centered above the Munzee in the 3/4″ top section. This left lots of room to make sure the Munzee was safe and secure in its plastic shield and not let any water in.
Time will tell how these hold up in our west coast rain-forest environment.
Update March 4, 2016: Some of my laminated Munzees I created a year ago are still going strong out in the wild. Others have gone missing – probably too visible to the Muggles and they got removed. If you want a faster process to select which Munzees to use in the print process, you can find instructions you can use in my post on creating Munzee Stickers.
